| EnjoyHQ allows you to link projects to a related Jira issue. Depending on your Jira configuration, this integration can be one-way or two-way. |
This article applies to: EnjoyHQ
On this page:
- Jira integration capabilities
- Connect your Jira account
- Test your Jira integration
- View Jira status of projects
Jira integration capabilities
- You can link a research project to a Jira issue and track the progress from EnjoyHQ. The integration will synchronize the status of any linked issue once per hour.
- The EnjoyHQ project will be linked to the issue in Jira so that those working on the issue can access the associated feedback in EnjoyHQ.
- Only cloud-hosted Jira instances are supported.
- Self-hosted (on-premise) Jira instances are not supported.
- This integration only supports Classic projects in Jira.
- Jira's Next-gen projects are not compatible.
Connect your Jira account
First, generate a new Jira API token
EnjoyHQ uses API tokens for authentication when syncing requests between your Jira and EnjoyHQ accounts.
- In Jira settings, go to Manage your account.
- Click Create API token.
- Enter a name for the token. For example, enjoyhq-token.
- Click Create.
- Select Copy to clipboard to copy the token before closing the modal window. You'll need this later when setting up the EnjoyHQ integration.)
Next, verify your Jira permissions for a successful integration
- To enable full functionality, you need to have at least these permissions enabled in your Jira account:
- Edit Issues
- Create Issues
- Browse Projects
- If you don't have those permissions, ask your Jira administrator to use their own credentials or setup an EnjoyHQ-specific user with those permissions enabled.
- Permissions are important, so make sure the Jira account being connected can access all current and future Jira projects.
Next, connect EnjoyHQ to Jira
- Open the Settings menu.
- Go to the Manage integrations section.
- Select Jira.
- Enter the following information
- Username
- Jira API token (copied to the clipboard earlier)
- Jira account subdomain
- Click Connect.
- If the credentials are correct and the user has sufficient permissions, you will be notified that your Jira account account has been successfully connected to EnjoyHQ.
Last, and this is an optional step, set up an EnjoyHQ Link field in Jira
- While this step is optional, this integration will only work one-way (within EnjoyHQ) if the EnjoyHQ Link field is not added in Jira.
- In other words, you will be able to see linked Jira issues and their statuses in EnjoyHQ, but you will not see the EnjoyHQ project links within your Jira issues.
- To enable a two-way integration, add a custom field in Jira for EnjoyHQ project links.
To add a custom field in Jira, follow these steps:
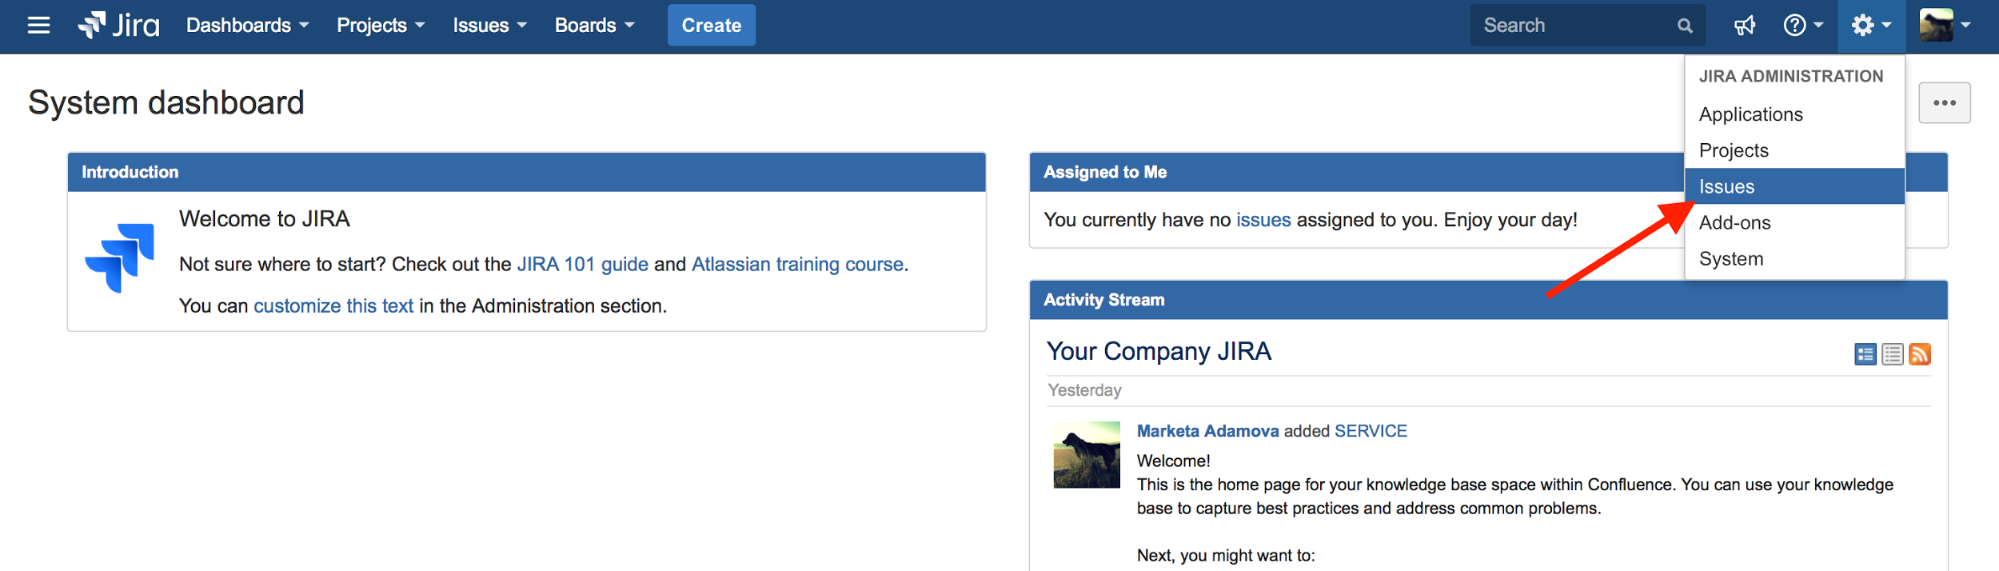
- Open Jira's Settings menu.
- Select Issues.
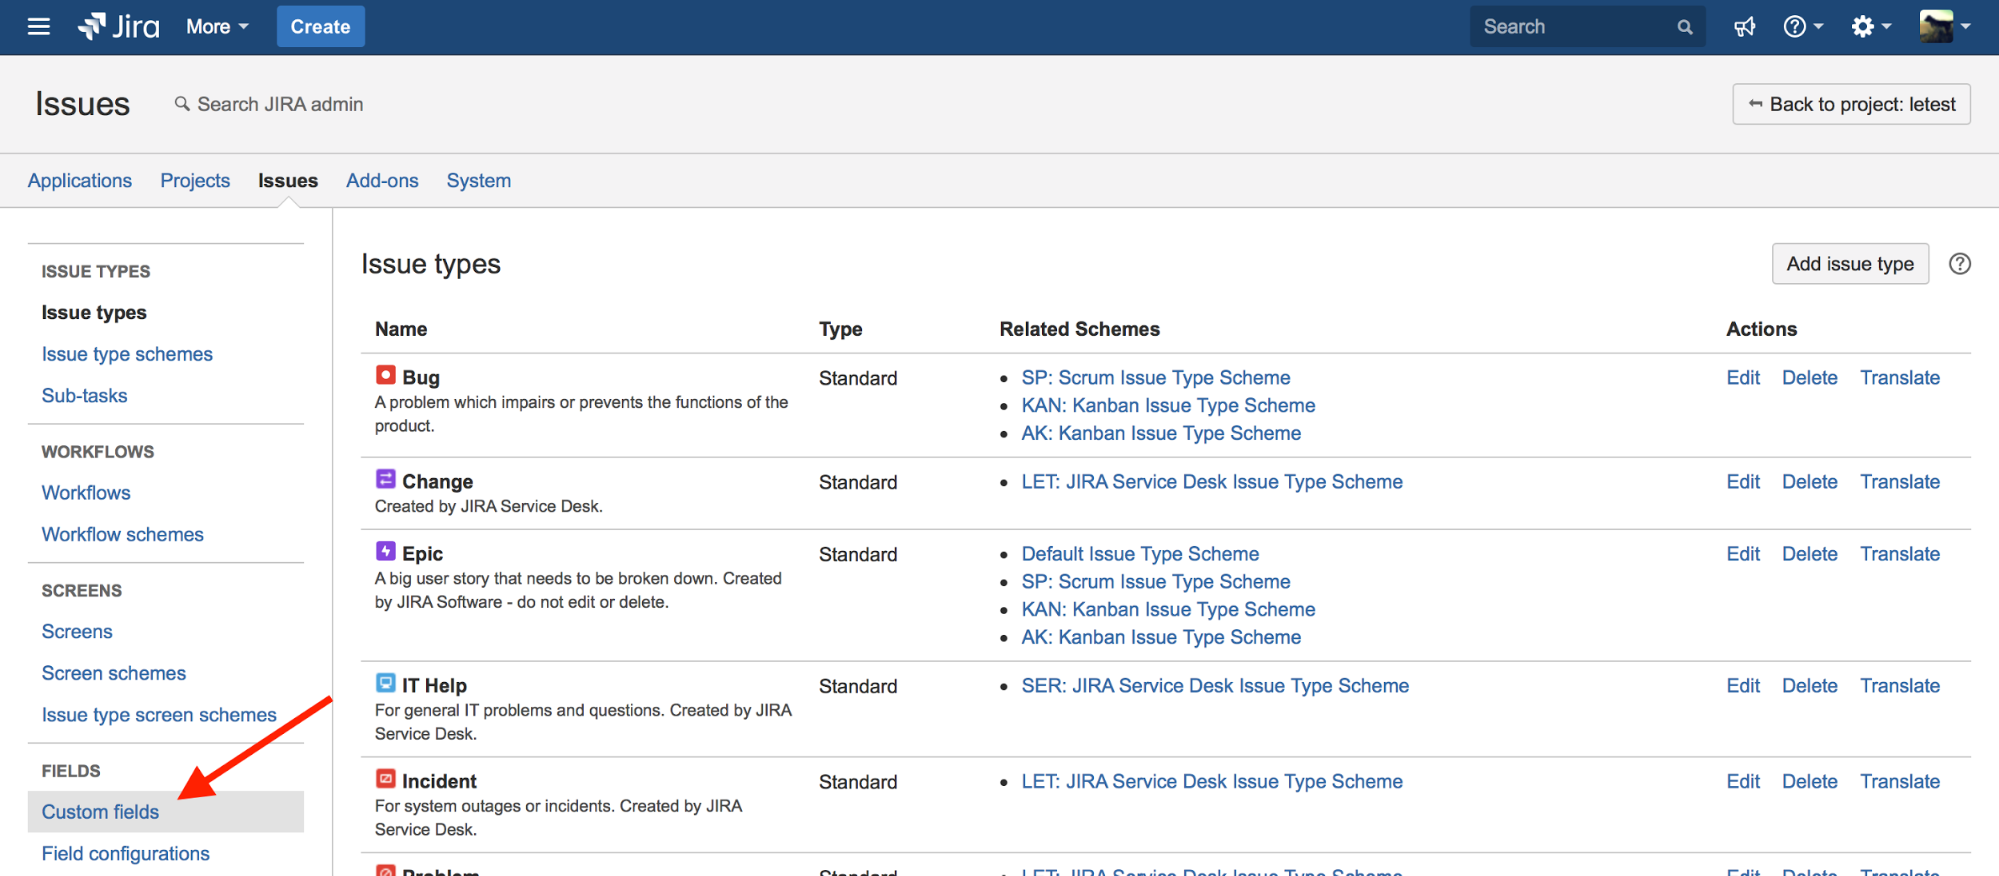
- Navigate to the Fields section.
- Select Custom fields.
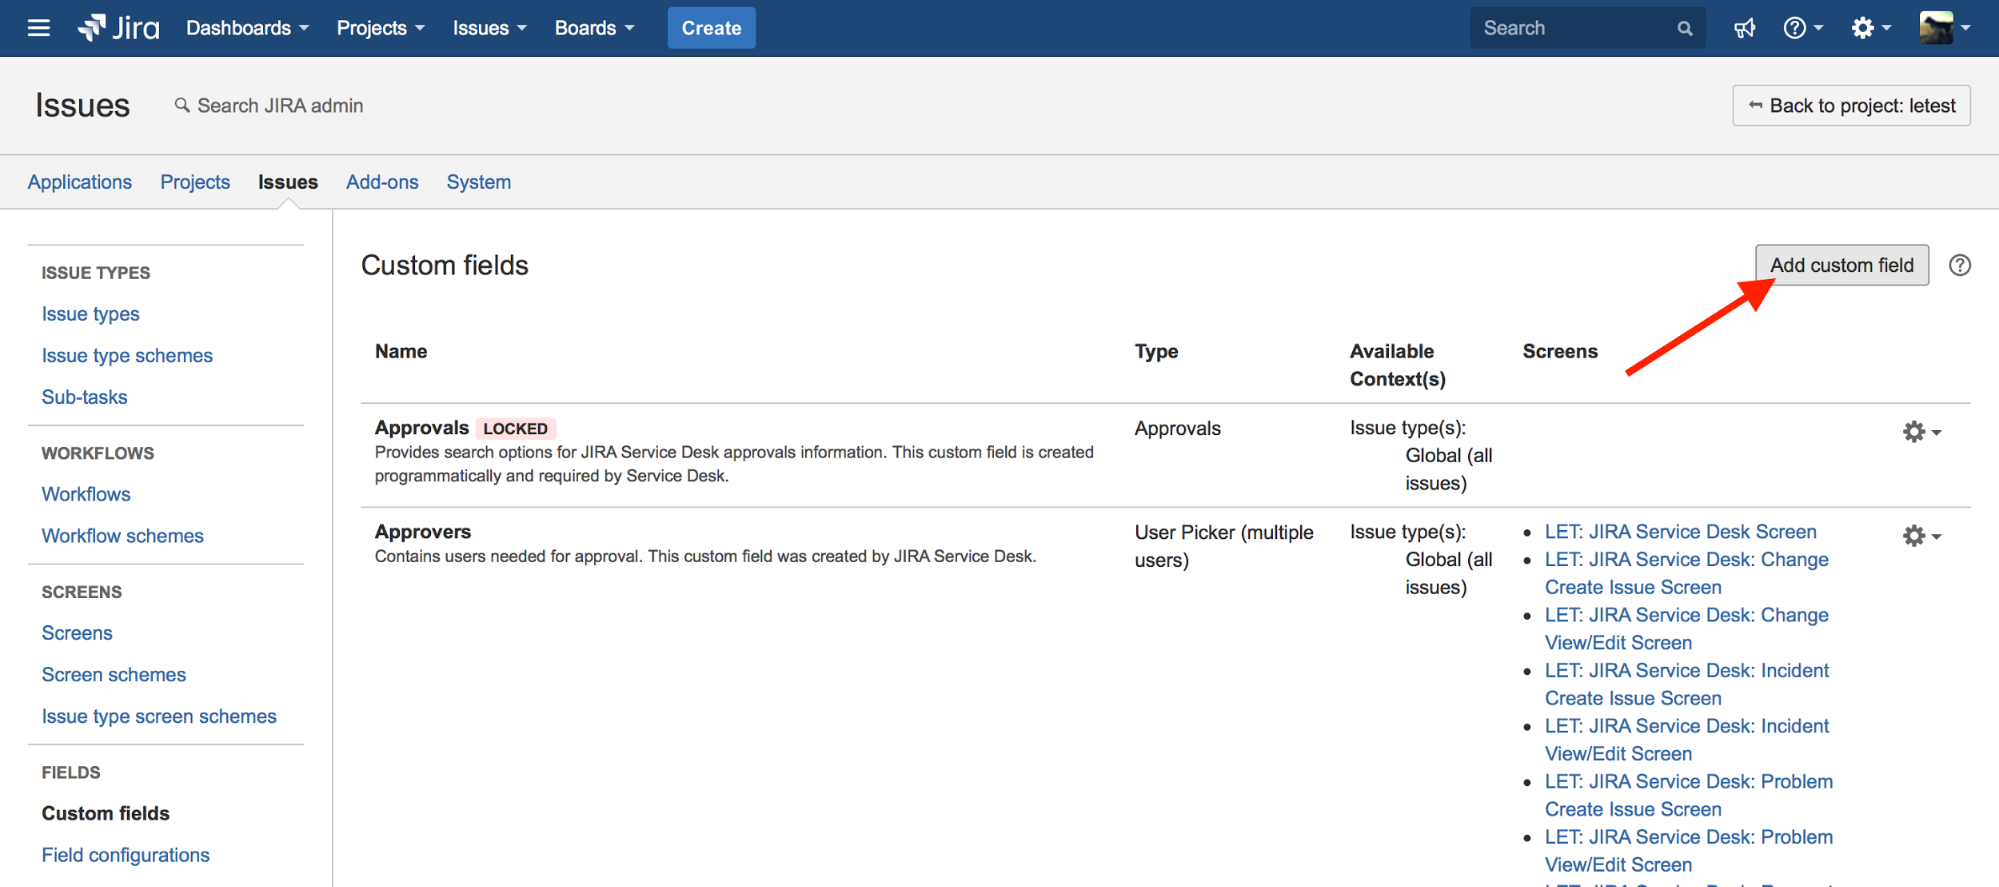
- Click Add custom field.
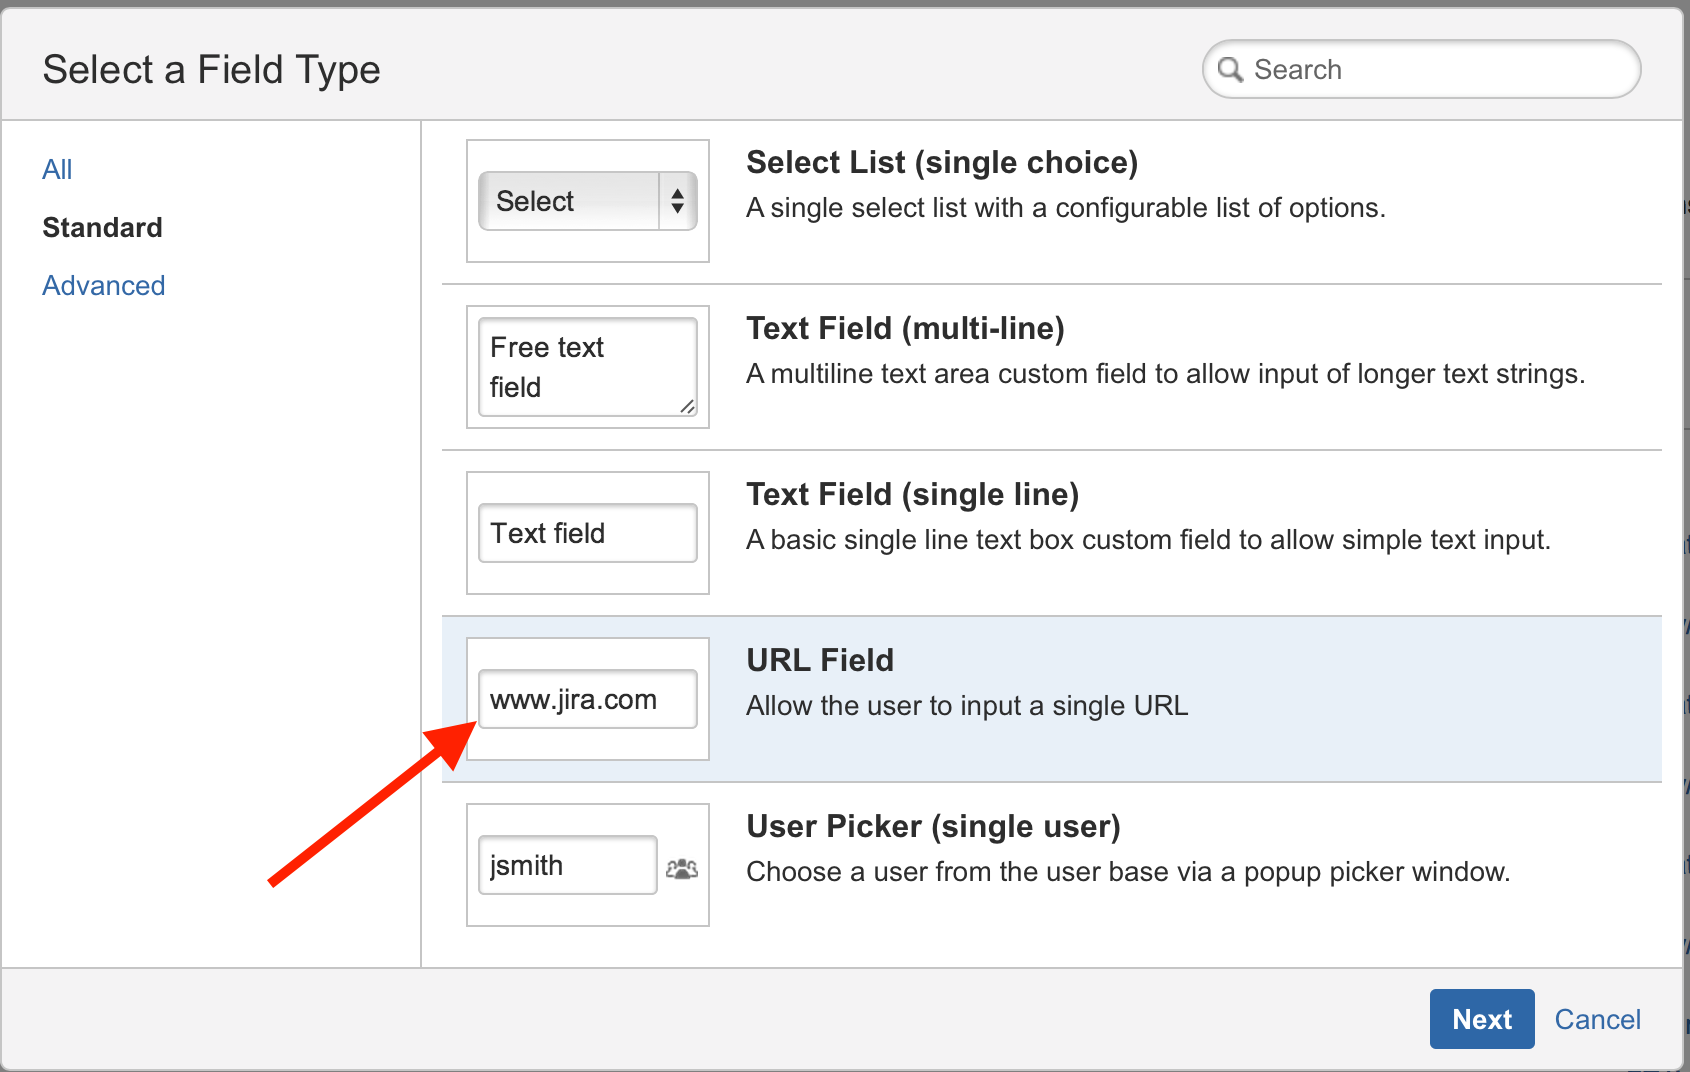
- Select the URL Field for the field type.
- Enter the EnjoyHQ Link as the Name for this URL Field.
- It's important to verify this name is entered correctly to ensure the integration will work.
- This is the field that EnjoyHQ will use to add EnjoyHQ links to Jira issues via the API.
- Add the EnjoyHQ Link field to the Default Screen of Jira projects, and any other Jira screens used for creating and editing issues. EnjoyHQ will need to use the EnjoyHQ Link field to link Jira issues to their associated EnjoyHQ projects.
Considerations
- You will at least need to select the Default Screen, but other screens are optional (it is recommended to enable them as well for simplicity's sake).
- Since Jira version 7.0, new projects are usually created "using a shared configuration of an existing project." You can find more information in the Jira Knowledge Base.
- If the Associate field EnjoyHQ Link to screens dialog doesn't display automatically after creating the EnjoyHQ Link field, follow these steps:
- To configure your Jira screens, in the next window, select all your Default screens. In the example below, these are AK: Kanban Default Issue Screen and Default Screen.
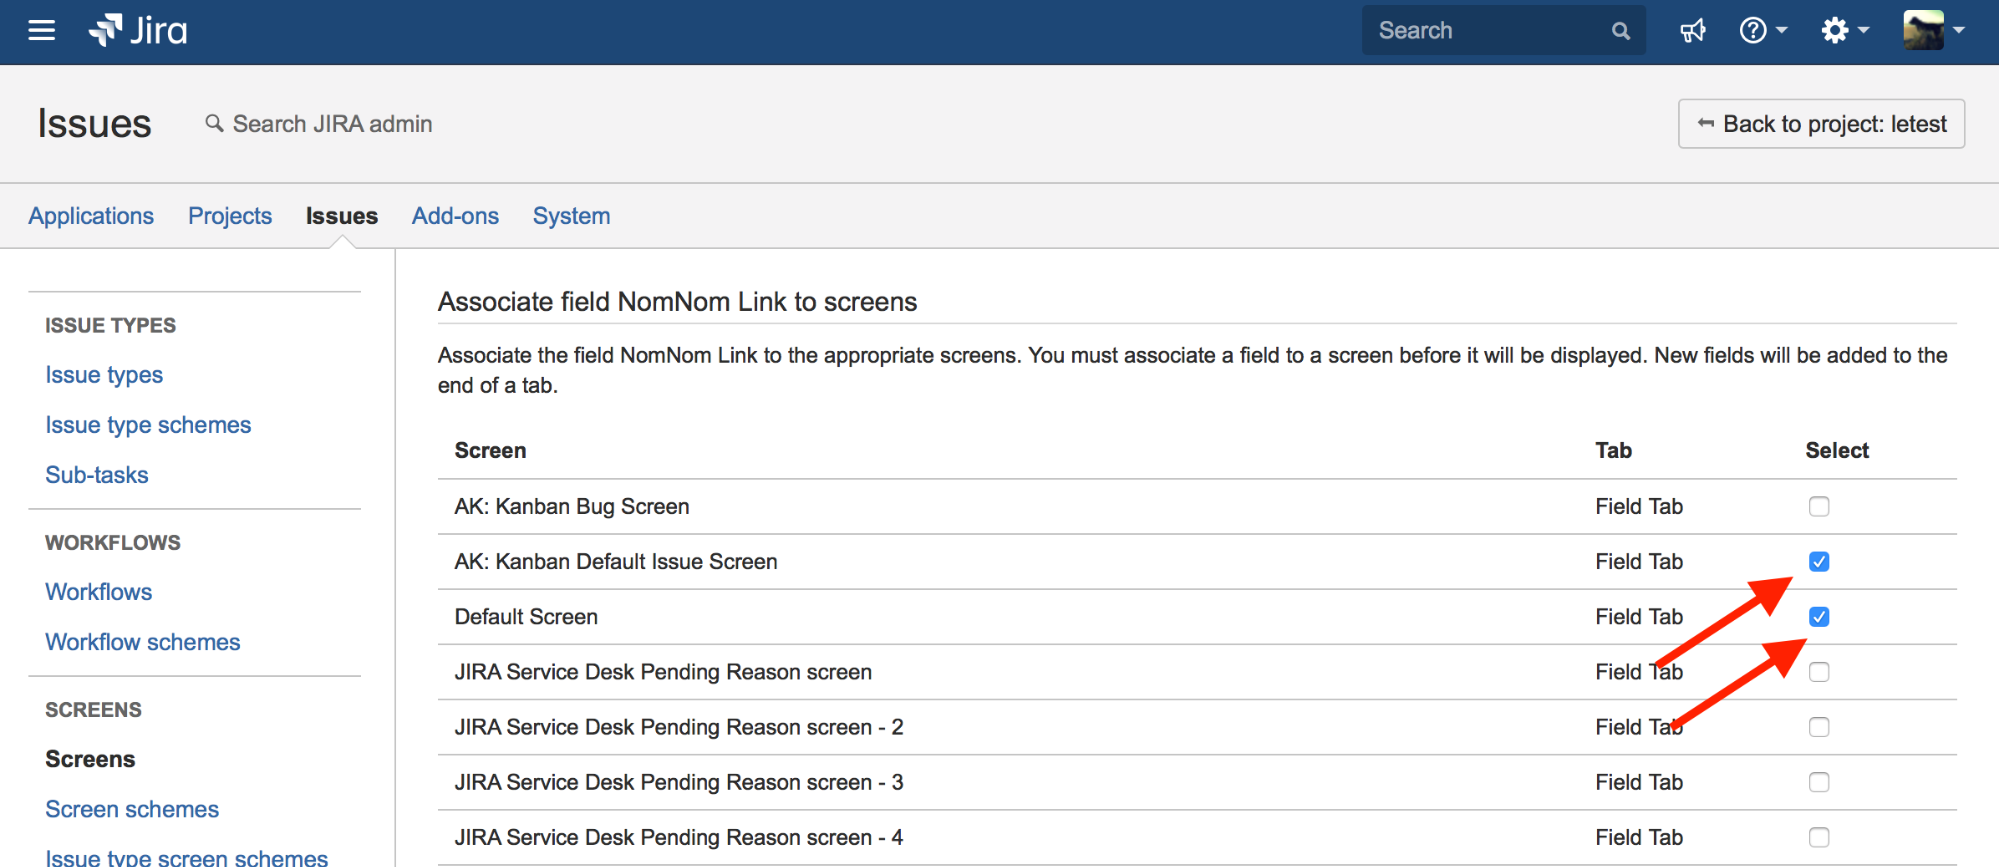
- Click Update to save your changes. EnjoyHQ can now add links to your Jira projects.
- Verify that you can see the EnjoyHQ Link field in all Jira issues linked to EnjoyHQ projects.
- To configure your Jira screens, in the next window, select all your Default screens. In the example below, these are AK: Kanban Default Issue Screen and Default Screen.
Test your Jira integration
- Go to the Plan section of any EnjoyHQ project.
- Open the Project Settings menu.
- Select Link to Jira.
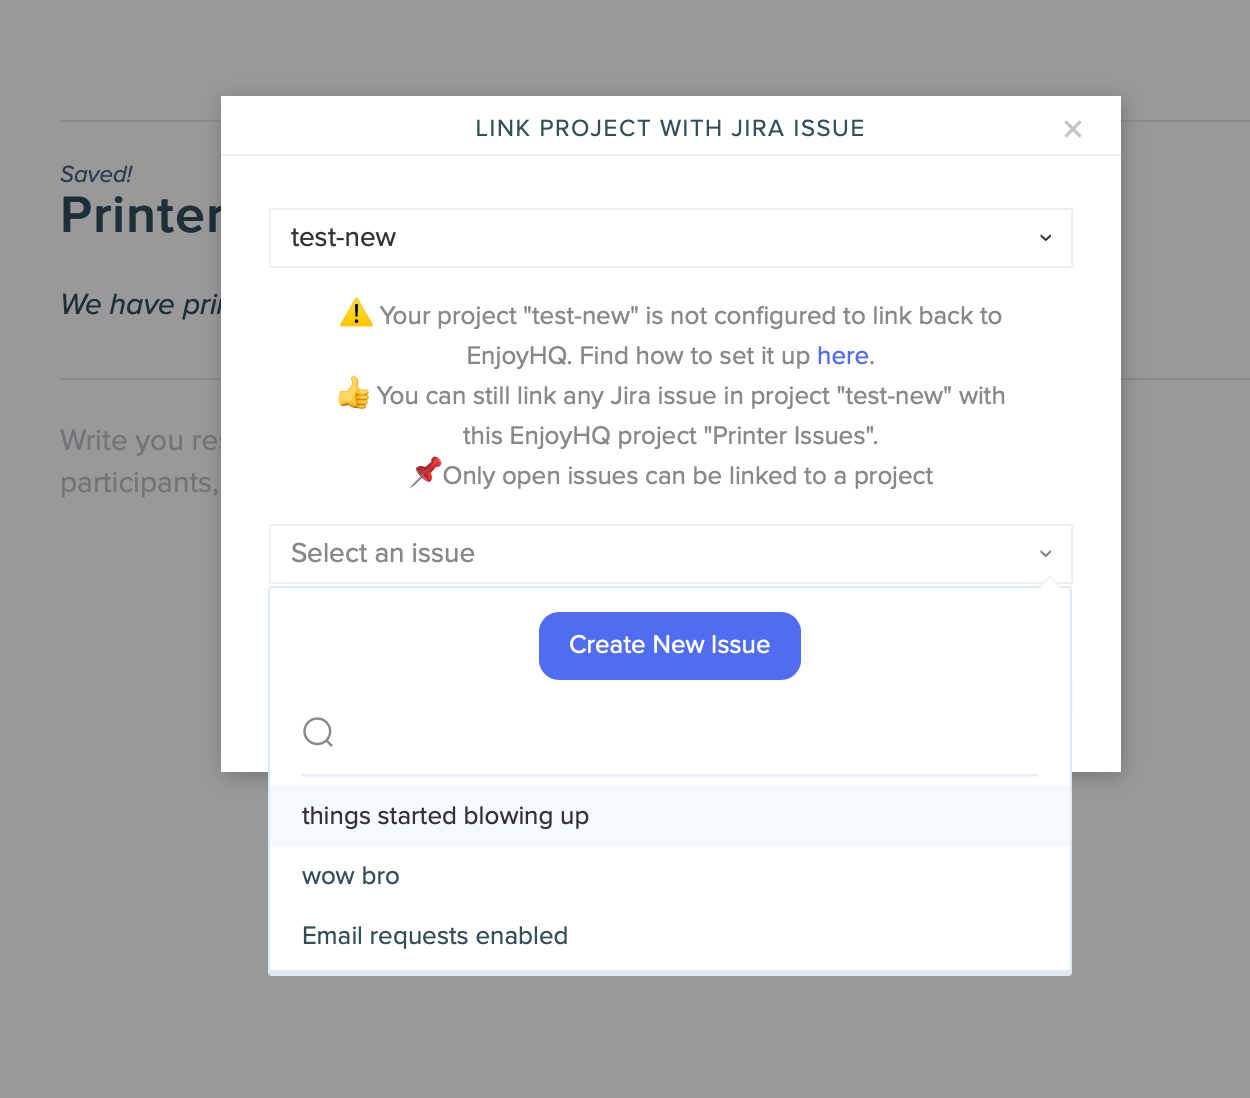
- In the Link Project with Jira Issue dialog box, select the associated Jira project.
- Choose the Jira issue to link to the EnjoyHQ project.
Pro Tip
We also provide the ability to create a new Jira issue via the Create New Issue button in the Link Project with Jira Issue dialog box. When clicked, a new modal dialog will appear and guide you to a Jira form where you can finish creating the new issue.
View Jira status of projects
- After linking a project with a Jira issue, the Jira issue, status, and link will appear on the right-side of the project's Plan section.
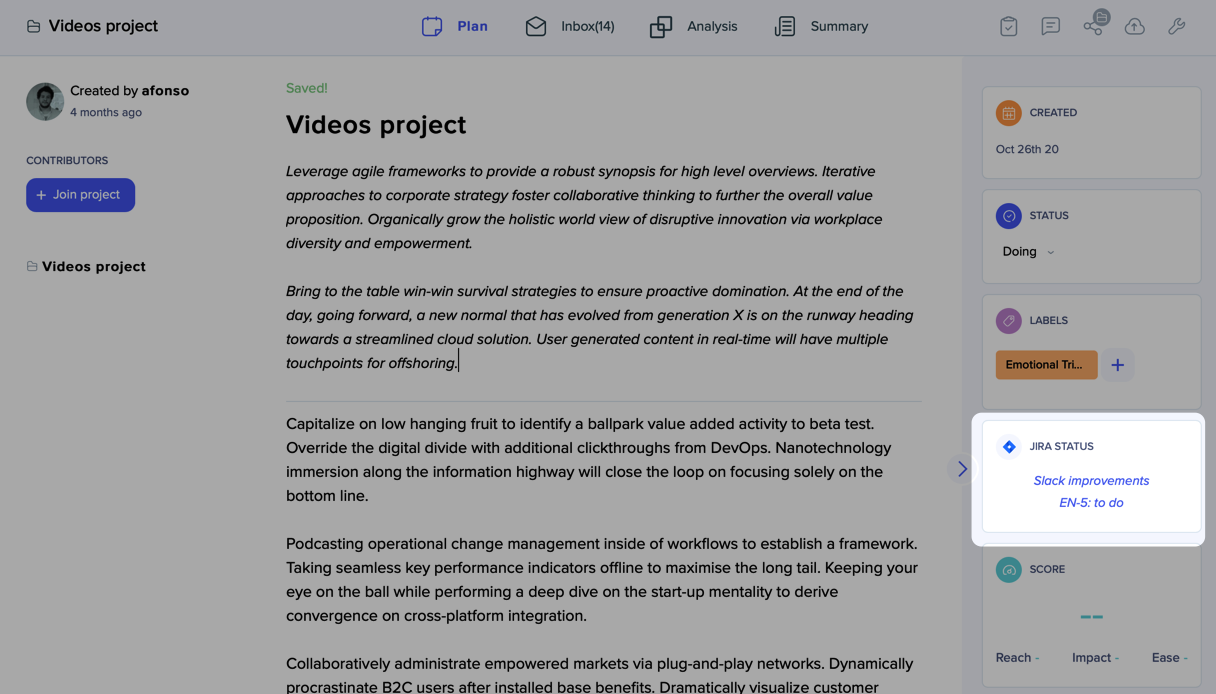
- Once Jira issues are linked to EnjoyHQ projects, Jira status can also be viewed in the project cards and projects can be filtered with the Jira Status filter facet.
Related content
|
Want to learn more? Check out these Knowledge Base articles... |
Interested in growing your skills? Check out our University courses... |
|
Need hands-on training? Find a live, virtual class that fits your needs. |
Can't find your answer? Reach out to Support or our Professional Services team. |